View Proposals
This guide explains how to view Blocknet's Superblock proposals for funding initiatives and governance management. The ability to view proposals is important for the decentralized governance model to function properly, enabling informed discussions and voting.
Voting Requirements & Important Information
5000 BLOCK is required in order to vote. The process of voting can take place from a wallet containing at least 5000 BLOCK, or a Service Node collateral wallet. An active Service Node is not required.
Additional important information:
- The UTXO inputs used for the 5000 BLOCK (to vote) must be 100 BLOCK or larger.
- If you spend or stake any of your 5000 BLOCK inputs after you vote, the vote is marked invalid and you will need to cast your vote(s) again (an auto-revote mechanism will be created).
- Since the votes are recorded on-chain, casting a vote requires you to pay a network fee. It is best practice to have a small UTXO input for each vote to pay for the network fees.
- Your vote is not counted until the voting transaction fee has 1 confirmation (typically 1 minute), after which your votes will be accounted for when viewing the
listproposalscommand. - If you vote again you will have to pay another network fee to do so.
- The voting system will automatically calculate how many votes you have available according to your balance (1 vote per 5000 BLOCK) and cast your full vote weight when voting (5562 BLOCK balance = 1 vote, 49635 BLOCK balance = 9 votes.
- At least 60 minutes must pass before you can change your vote(s).
- The deadline for creating proposals is 2880 blocks prior to the Superblock.
- Voting for proposals ends 60 blocks prior the Superblock.
Proposals should be carefully reviewed along with the amount requested. It's a good idea to consider the total Superblock budget (40,000 BLOCK), the other proposals amounts requested, the priorities of the project, and if the proposal aligns with those priorities and greater vision of the project. The link for each proposal should lead to a description of what the proposal is for with background information and objectives.
Viewing from the Qt Wallet
There are two Qt wallets, with the Redesign geared towards being more user friendly. Below is a comparison between the Classic and Redesign Qt wallets.
| Qt Version | Redesign (GUI) | Redesign (console) | Classic (console) |
|---|---|---|---|
| Doesn't require console | |||
| Lists proposals | |||
| Shows descriptions | (has link) | (has link) | (has link) |
| Shows vote counts | |||
| Shows pass/fail status | |||
| Shows amounts requested | |||
| Shows deposit addresses | |||
| Shows past proposals | |||
| Easy to navigate | |||
| Simple voting UI |
View using the redesigned wallet
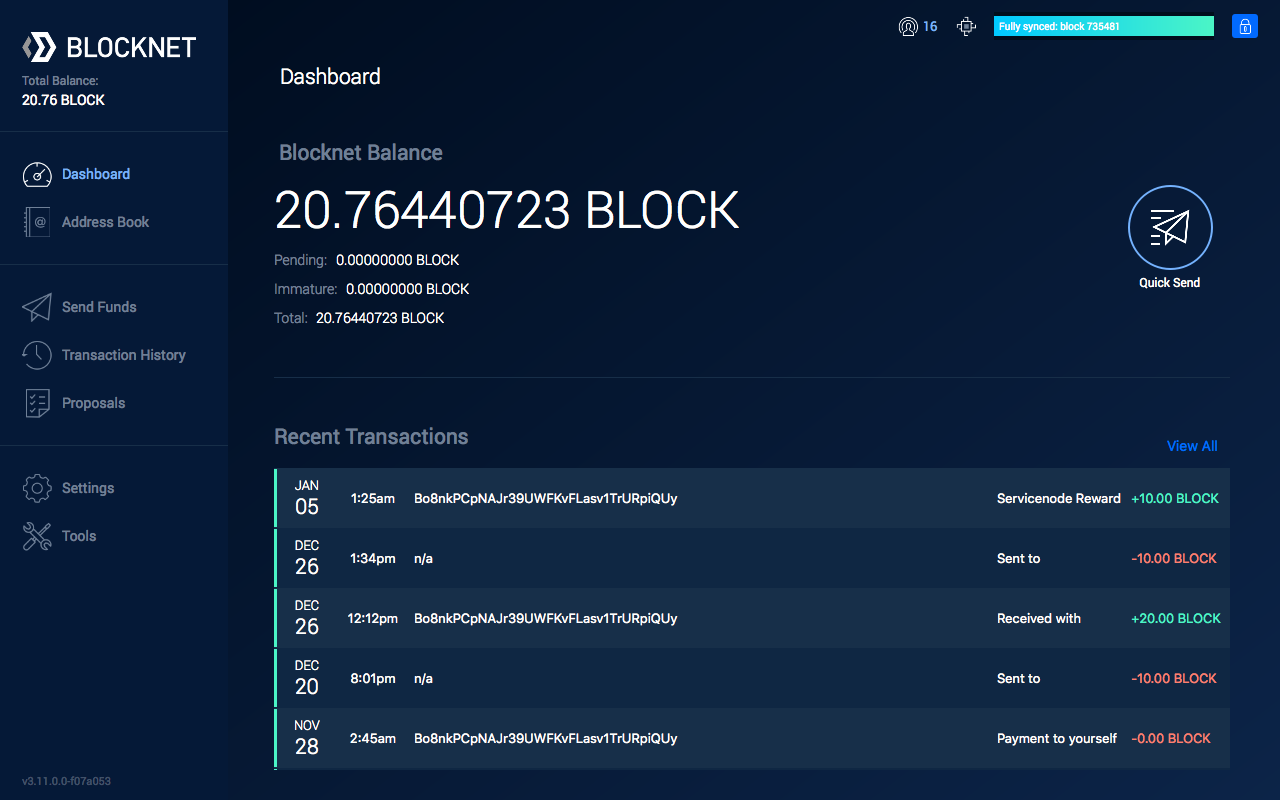
- Open the wallet and in the side menu, go to Proposals. The wallet does not need to be unlocked.
-
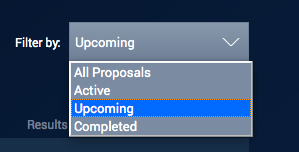
The Proposals screen shows all the proposals submitted to the network. Above the list of proposals there is an option to filter by Upcoming, which displays the proposals that can currently be voted on. Select this filter to view all proposals currently open for voting.
View using the classic wallet
- In the program menu, go to Window > Console. The debug console will open in a new window.
- In the input field at the bottom, type in
listproposals, then press the Enter key. To view proposals since a specific block, uselistproposals [BLOCK_NUMBER]instead. Example:listproposals 1209600 - A message showing all proposals will be returned.
- Vote on a proposal.
Viewing from the Browser
There are various options for viewing the proposals in the browser. Each option has its own unique features. As of this writing, the websites where proposals can be viewed include the following:
Viewing from the Terminal
Linux
-
Start the wallet. If it's not already running, use the following instructions to start it.
- Navigate to the
binfolder within your Blocknet wallet installation directory (EG:~/blocknet/bin/) -
Type in the following command, replacing
[USERNAME]and[PASSWORD]with the respectiverpcuser=andrpcpassword=values from yourblocknet.conffile located in your~/.blocknet/directory../blocknetd -rpcuser=[USERNAME] -rpcpassword=[PASSWORD] -daemonExample:
./blocknetd -rpcuser=JohnBlocknet -rpcpassword=supersecretpassword -daemon
- Navigate to the
-
The wallet process will begin in the current terminal window. You will need to open a new terminal window or tab and navigate to the same location before continuing.
-
If your wallet was just started, you may need to wait a few minutes for the proposals to sync, otherwise you may not see the full list of proposals. Use the following command to view the proposals:
./blocknet-cli listproposals -
To view proposals since a specific block:
./blocknet-cli listproposals [BLOCK_NUMBER]Example:
./blocknet-cli listproposals 1209600
Windows
-
-
Navigate to the
binfolder within your Blocknet wallet installation directory (EG:C:\Users\[YourUsername]\Downloads\blocknet\bin\)Tip: This requires the blocknet-[version]-win64.zip download version.
To interact with the wallet via the command line, the `blocknet-[version]-win64.zip` wallet version is needed.
Start the wallet. If it's not already running, use the following instructions to start it.
-
Type in the following command, replacing
[USERNAME]and[PASSWORD]with the respectiverpcuser=andrpcpassword=values from yourblocknet.conffile located in theC:\Users\[YourUsername]\AppData\Roaming\Blocknetdirectory. This directory can be found by opening the file explorer and pasting in%appdata%\Blocknet\into the file explorer path field.blocknetd -rpcuser=[USERNAME] -rpcpassword=[PASSWORD]Example:
blocknetd -rpcuser=JohnBlocknet -rpcpassword=supersecretpassword
-
-
The wallet process will begin in the current terminal window. You will need to open a new terminal window or tab and navigate to the same location before continuing.
-
If your wallet was just started, you may need to wait a few minutes for the proposals to sync, otherwise you may not see the full list of proposals. Use the following command to view the proposals:
./blocknet-cli listproposals -
To view proposals since a specific block:
./blocknet-cli listproposals [BLOCK_NUMBER]Example:
./blocknet-cli listproposals 1209600
MacOS
-
-
Navigate to the
binfolder within your Blocknet wallet installation directory (EG:~/Downloads/blocknet/bin/)Tip: This requires the blocknet-[version]-osx64.tar.gz download version
To interact with the wallet via the command line, the `blocknet-[version]-osx64.tar.gz` wallet version is needed.
Start the wallet. If it's not already running, use the following instructions to start it.
-
Type in the following command, replacing
[USERNAME]and[PASSWORD]with the respectiverpcuser=andrpcpassword=values from yourblocknet.conffile located in your~/Library/Application Support/Blocknet/directory. This directory can be found by opening the Finder, in the program menu selecting Go > Go to Folder, entering~/Library/Application Support/Blocknet/in the path, and pressing Enter../blocknetd -rpcuser=[USERNAME] -rpcpassword=[PASSWORD] -daemonExample:
./blocknetd -rpcuser=JohnBlocknet -rpcpassword=supersecretpassword -daemon
-
-
The wallet process will begin in the current terminal window. You will need to open a new terminal window or tab and navigate to the same location before continuing.
-
If your wallet was just started, you may need to wait a few minutes for the proposals to sync, otherwise you may not see the full list of proposals. Use the following command to view the proposals:
./blocknet-cli listproposals -
To view proposals since a specific block:
./blocknet-cli listproposals [BLOCK_NUMBER]Example:
./blocknet-cli listproposals 1209600